Other Features
In this section
This section explains other Algho features available for assistants.
Global Variables
The Global Variables section allows you to create variables to be used for automatic form filling (see AI GEN Options and Auto-Fill).
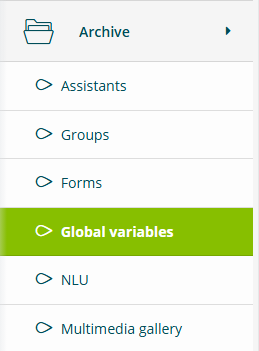
The section is accessible by selecting Archive and then Global Variables.
How it works
If a global variable is associated with one or more form fields (see Field Configuration), when a user fills in the associated field, the entered value will be stored in the corresponding variable for that specific user.
When a value is stored in a variable, the form fields associated with this variable will be filled in automatically, without asking the user for the information again.
Depending on the variable's scope, it will be stored only for the current conversation or for all of the user's conversations.
Creating a variable
To create a new variable, select Add, assign a name to the variable and define its scope.
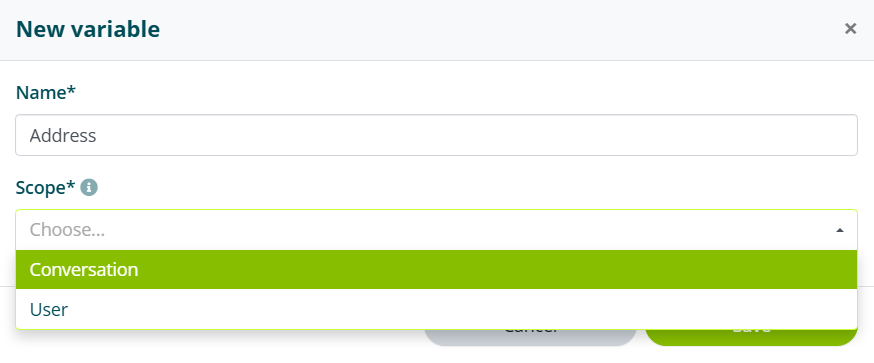
There are 2 types of scope:
- Conversation: the variable is kept only for the current conversation.
- User: the variable is kept for the user who is interacting, even in subsequent conversations.
A User type scope can lead to the variable being used in irrelevant contexts.
Multimedia Gallery
The Multimedia Gallery allows you to upload images, videos and documents to be used later in an assistant's knowledge base (see Intent).
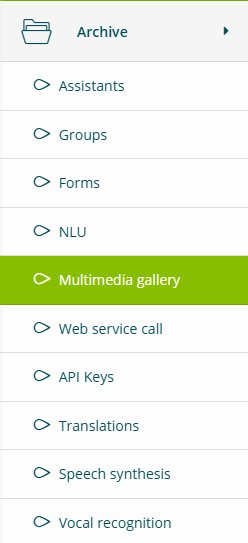
The section is accessible by selecting Archive and then Multimedia Gallery.
Archive
The Multimedia Gallery displays all files that have been previously uploaded.
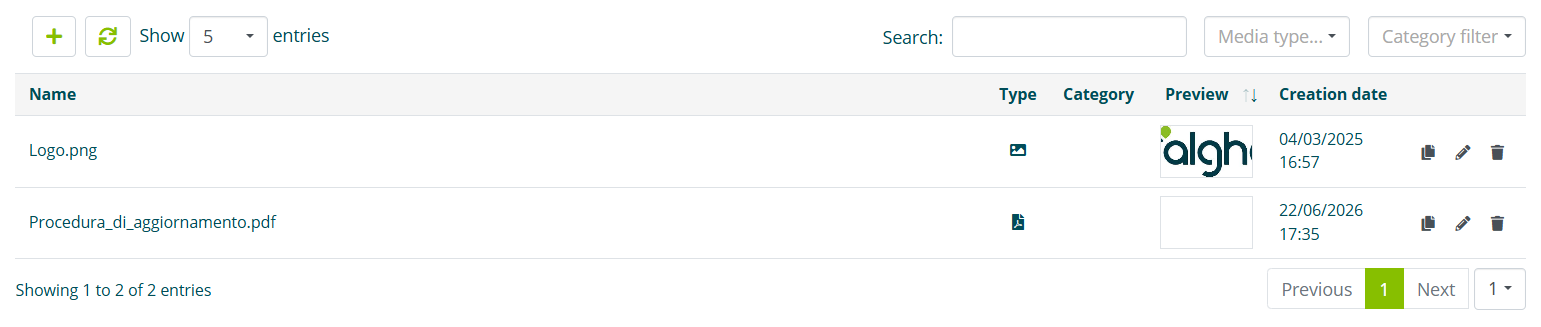
For each uploaded file, the following information is shown:
- assigned name
- type (image, video, document)
- preview
- creation date
For each file, you can copy the URL and change the assigned name.
File upload
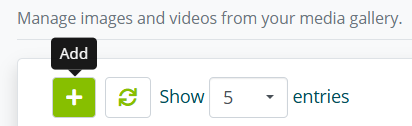
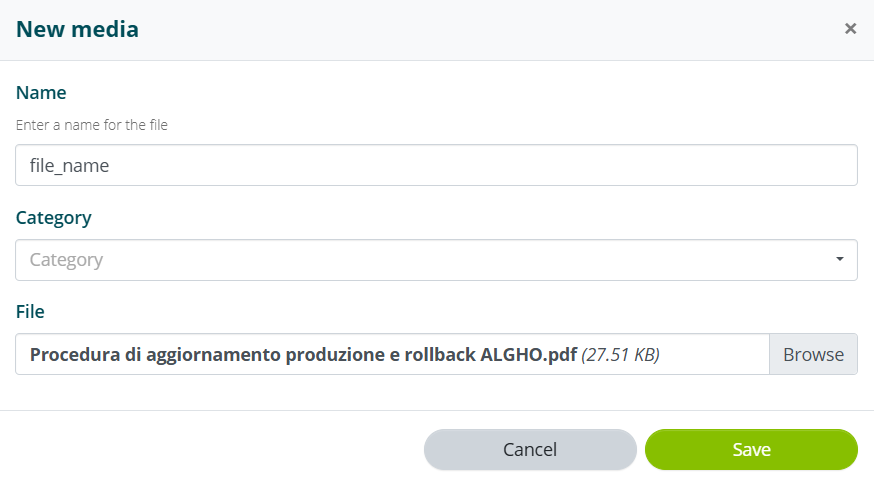
To upload a new file, select Add, assign a name to the file and select the file to upload from your device.
Speech Synthesis
The Speech Synthesis section allows you to add pronunciation aliases to correct any pronunciation errors when assistants read responses aloud.
The section is accessible by opening the virtual assistant's menu and selecting Speech Synthesis.
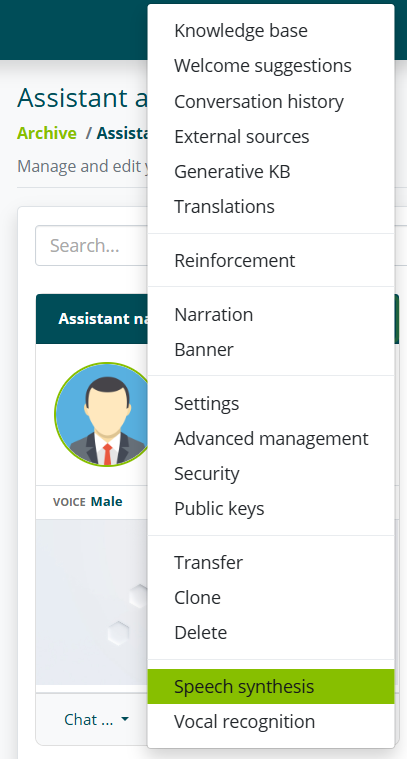
The section is also accessible by selecting Archive and then Speech Synthesis.
In this version, the aliases entered will apply to all assistants in the account.
Creating an alias
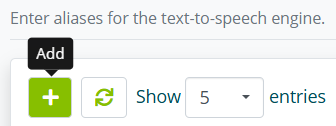
To create a new alias, select Add.
In the input screen, you must enter the Searched word and the Word to use.
The Searched word is the word, as written in the assistant's message, whose pronunciation you want to correct.
The Word to use is the word that the assistant should actually pronounce.
You can listen to the assistant's pronunciation by selecting the speaker icon on the right.
This option is not available if you access Speech Synthesis from the account Archive.
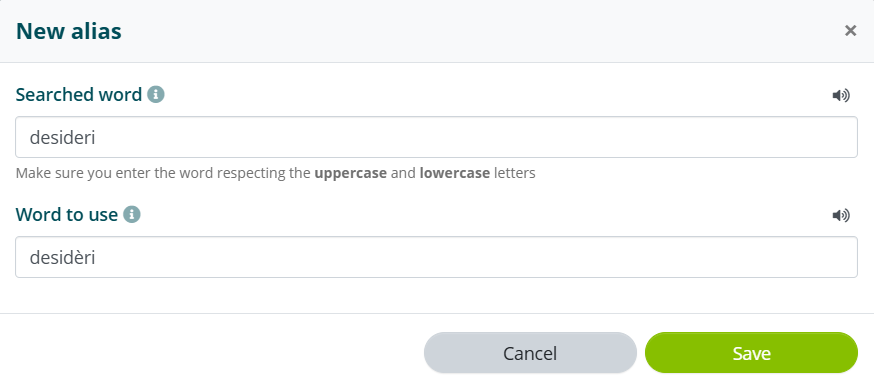
The assistant might, for example, read desideri as a noun instead of a verb.
In this case, you can correct the pronunciation by entering desideri as the Searched word and desidèri as the Word to use.
Another use case for Speech Synthesis is acronyms.
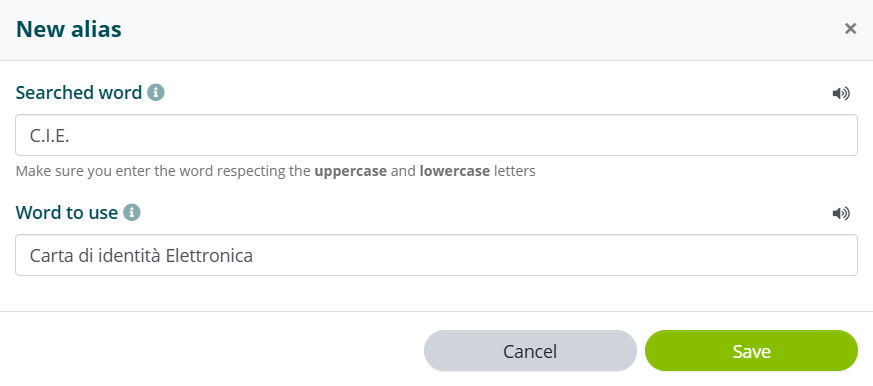
If the assistant's responses might contain the acronym C.I.E. (Italian electronic ID card), you may want the assistant to pronounce the full term instead of just the initials.
In this case, you can correct the pronunciation by entering C.I.E. as the Searched word and Carta di identità Elettronica as the Word to use.
Special characters cannot be entered in the Word to use field, except for accented letters.
Speech Recognition
The Speech Recognition section allows you to add recognition aliases to correct transcription errors in the user's voice input. Transcription errors can be easily detected by consulting the Conversation History.
The section is accessible by opening the virtual assistant's menu and selecting Speech Recognition.
The section is also accessible by selecting Archive and then Speech Recognition.
In this version, the aliases entered will apply to all assistants in the account.
Creating an alias
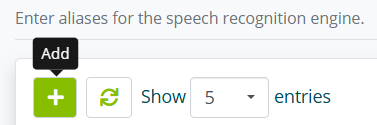
To create a new alias, select Add.
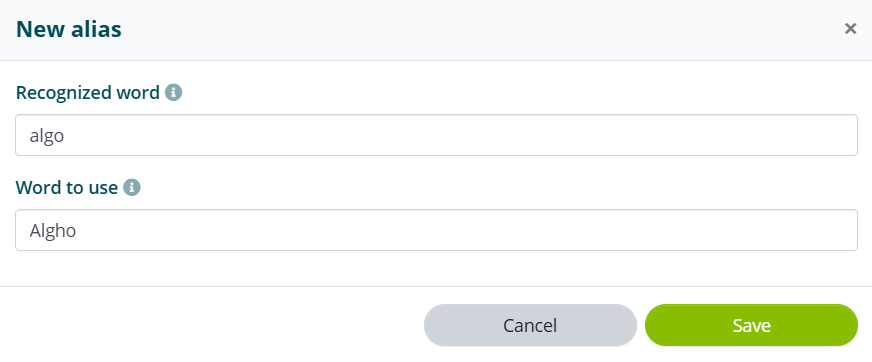
In the input screen, you must enter the Recognized word and the Word to use.
The Recognized word is the word, as transcribed by the speech recognition engine, whose transcription you want to correct.
The Word to use is the word as it should be transcribed.
The speech recognition engine might, for example, transcribe the input Algho as algo.
In this case, you can correct the transcription by entering algo as the Recognized word and Algho as the Word to use.
Users
In the Users section you can create access accounts for the Algho license, with the same editing permissions as the parent account.

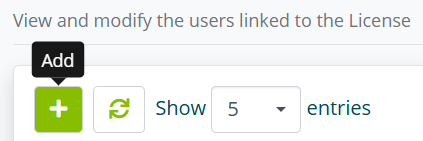
To create a new User, click Add.
In the creation screen you need to enter:
- First Name
- Last Name
- Email address
- Password
- Expiry (optional)
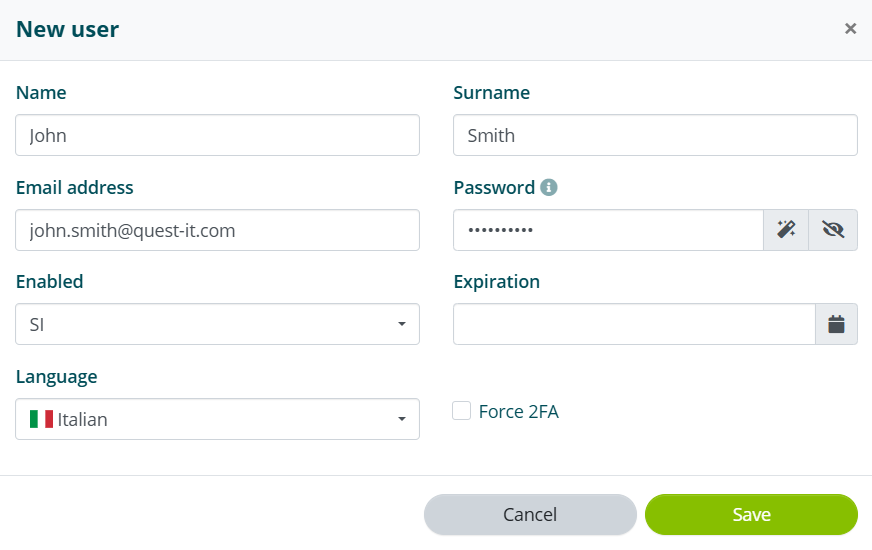
Once saved, a notification email with login instructions will be sent to the provided email address.
If the email address is already in use for another Algho account, you will need to enter a different address.
