Smart Document Access
In this section
Smart Document Access is the additional Algho module for uploading and managing documentation to provide to assistants in order to answer end users.
The module is accessible directly from Algho, by selecting Modules and then SDA 2.0.
Document Management
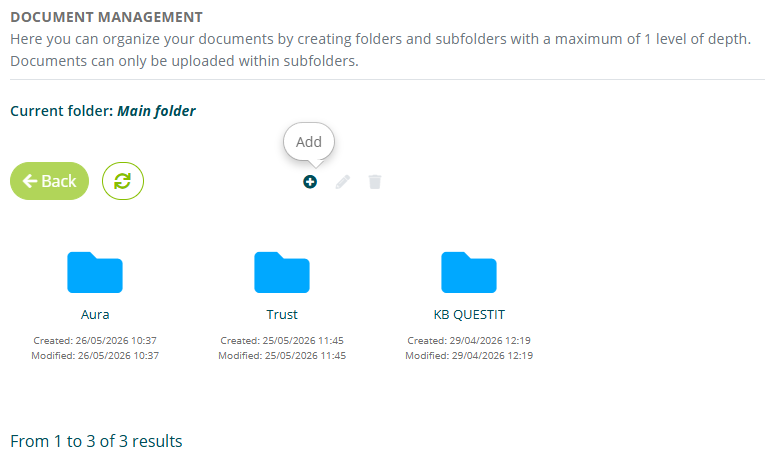
The "Document Management" section allows you to create and manage Folders and Subfolders as well as upload and manage documentation.
Documentation is accessible by selecting "Document Management" in the left menu.
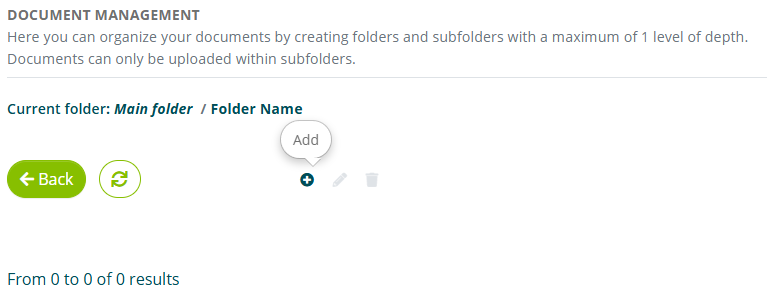
Creating a folder
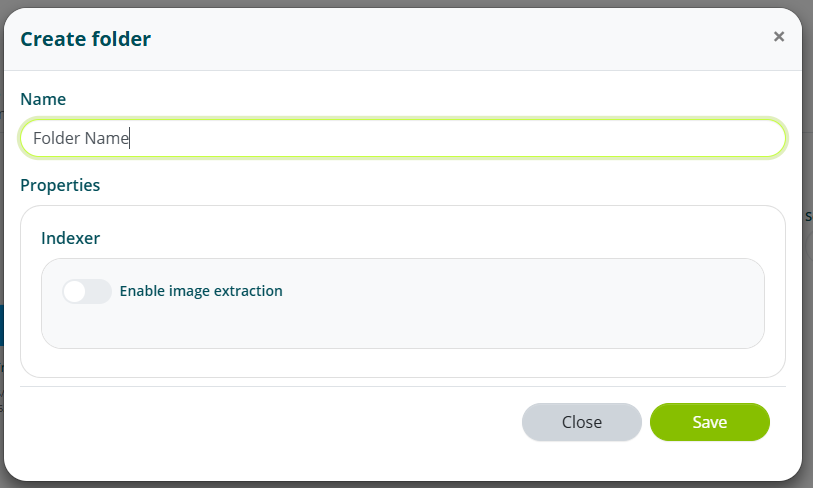
To create a new folder, select the "Add" option and assign a name to the folder.
Creating a subfolder
To create a new subfolder, select the "Add" option.
Assign a name to the subfolder and select the language of the documents that will be uploaded inside.
You can specify the validity duration of the links that are provided to end users during interaction with an assistant.
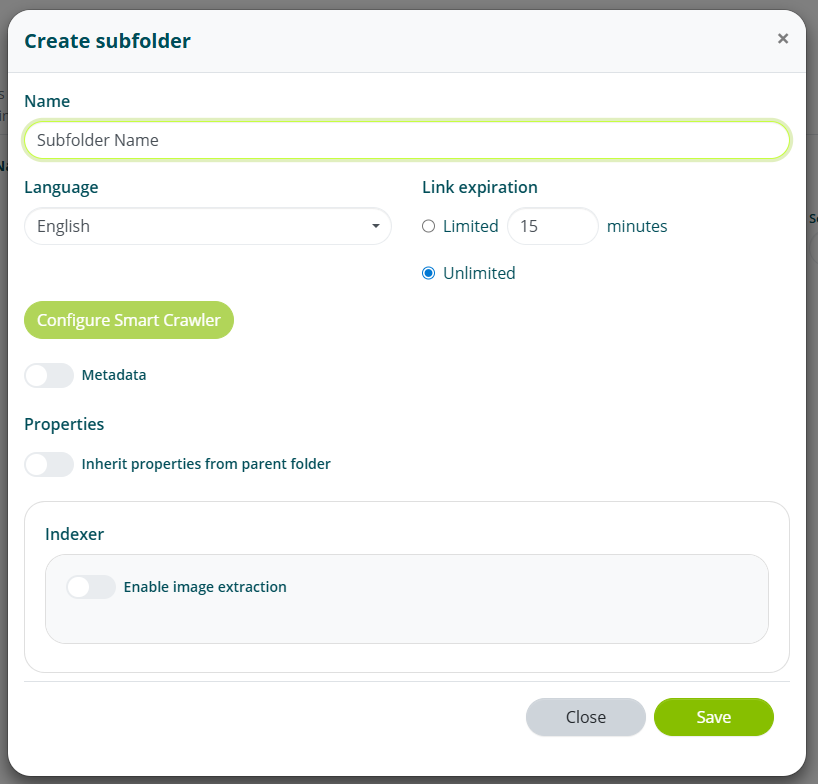
The "Metadata" and "Enable image extraction" options can be enabled later.
Subfolder management
Double-clicking on the subfolder opens its contents.
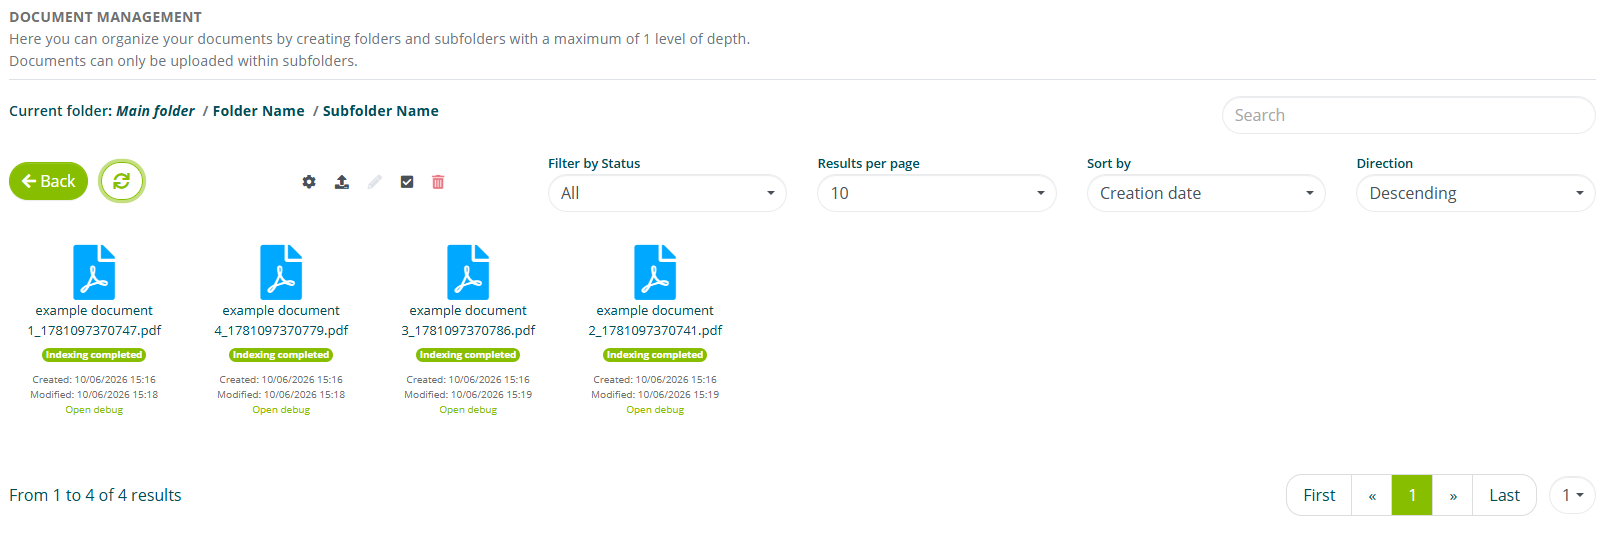
In each subfolder you can apply the following filters:
- Status, i.e. whether the document is indexed, being indexed or in error;
- Sorting, i.e. by creation date, modification date, name, number of pages, size and status;
- Sort direction, i.e. ascending or descending;
You can also perform text searches for:
- file name
- source URL (see also Smart Document Crawler)
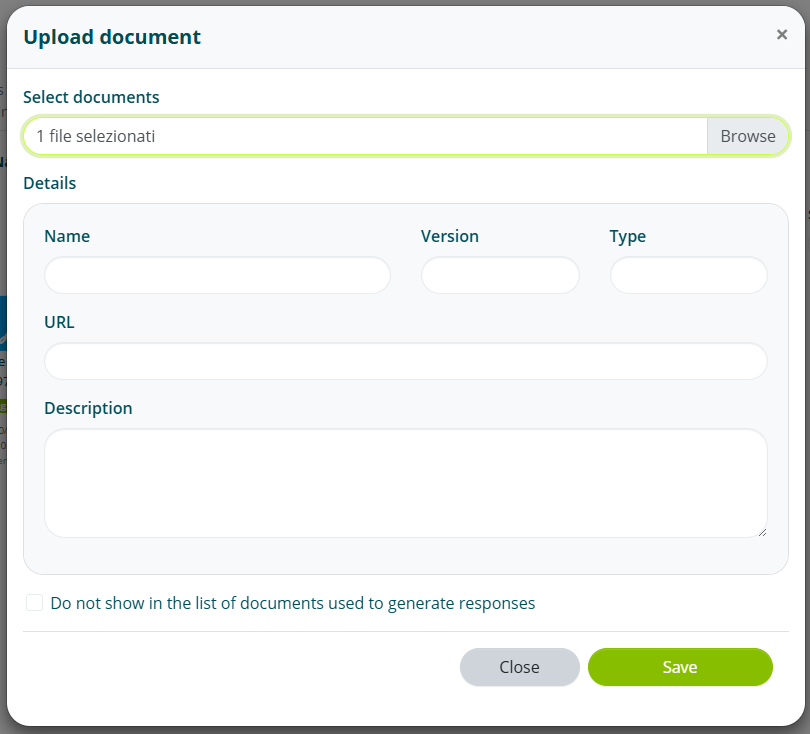
Uploading documents
To upload one or more documents, select the "Upload file" option.

You can upload documents in .pdf, .doc, .docx, .xlsx format
Select "Browse" to view files on your device. You can also upload more than one file at a time.
When uploading more than one file at a time, the additional options will not be available during upload. They will still be accessible once indexing is complete.
You can also specify:
- File name
- Version
- Reference URL
- Description
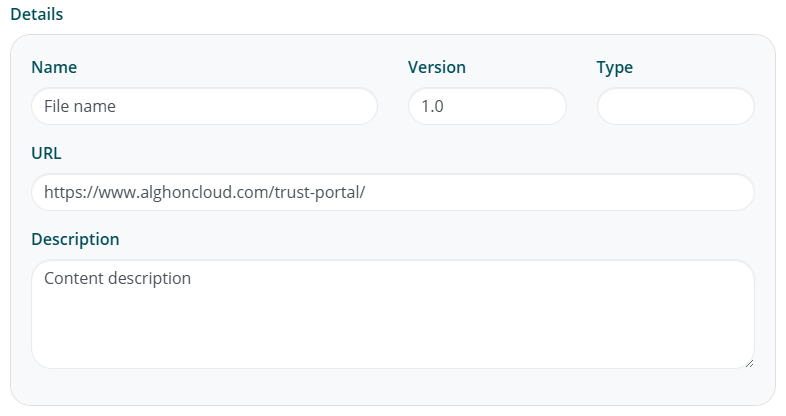
The reference URL is the page to which users will be directed when they select the document from the list of sources used by an assistant to generate its response.
Once uploaded, the file will show as "Saved". It will then change to "Indexing in progress" and finally to "Indexing completed".
Saved > Indexing in progress > Indexing completed
Managing documents
For each document, you can perform the following operations:
- Edit
- Replace
- Delete
To modify a document, select the document and click "Edit".
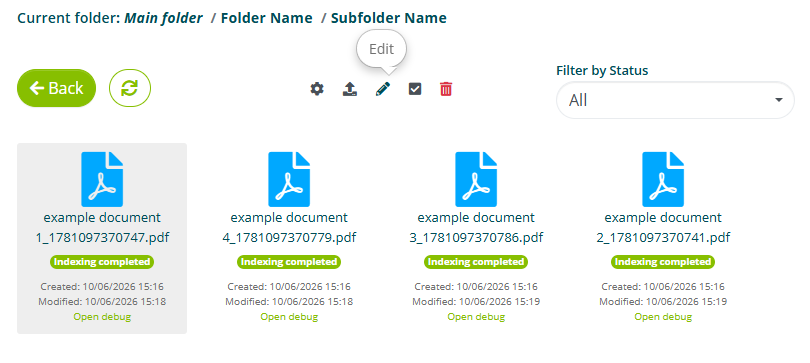
The selectable options are the same as those present when uploading a file.
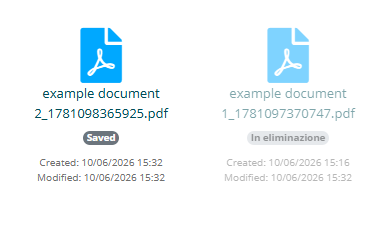
To replace the current file with a new one, simply select "Browse" and upload the new file.
The old file will change to "Deleting" status and will be permanently deleted when the new file has completed indexing.
To delete a document, select the document and click "Delete selected".
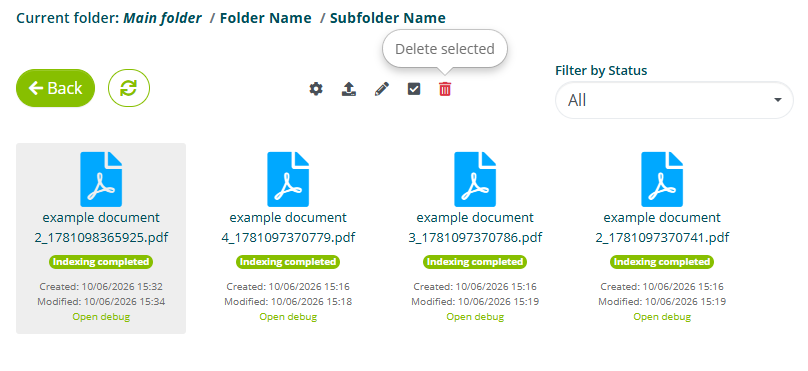
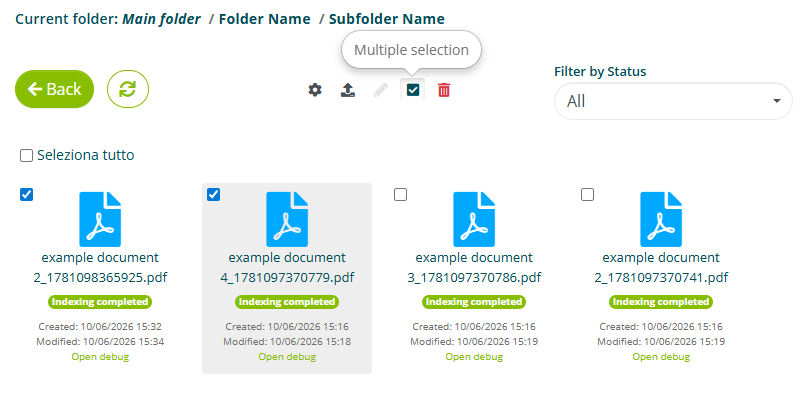
You can select more than one document for deletion. To do this, select the "Multiple selection" option and choose all the documents. Once chosen, select "Delete selected".
Smart Document Crawler
Within Smart Document Access, you can configure the crawler for indexing the contents of a website.
The crawler operates in two distinct phases: a first phase of link navigation, which maps the site structure without extracting contents, and a second phase of content extraction, which generates indexed PDF documents.
Activation and structure creation
Inside an already created subfolder, select the "Configure Smart Crawler" option.

Enable the "Enable on subfolder" checkbox.
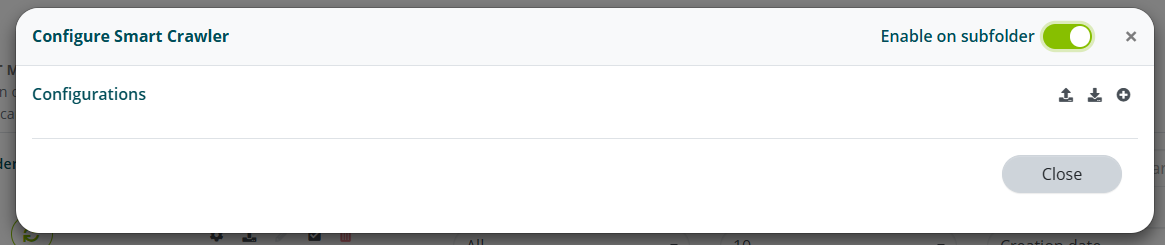
Select "Add configuration"

Assign a name to the configuration and select "Save".
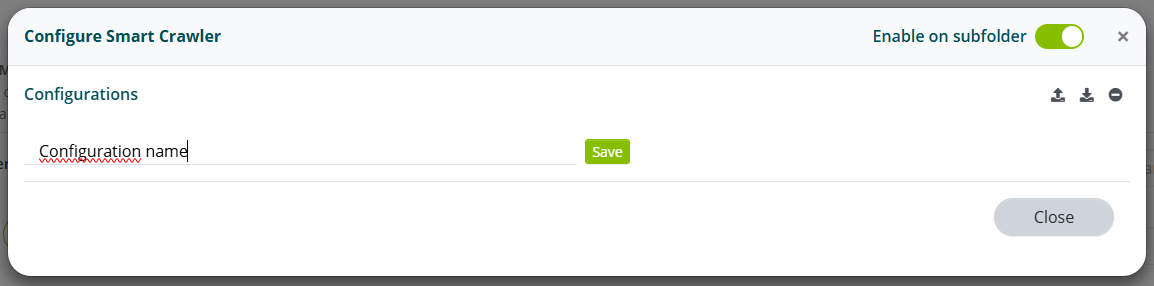
At this stage you can import previously downloaded configurations or download existing ones.
Setting up the Crawler
Selecting "Edit fields" opens the Crawler configuration.
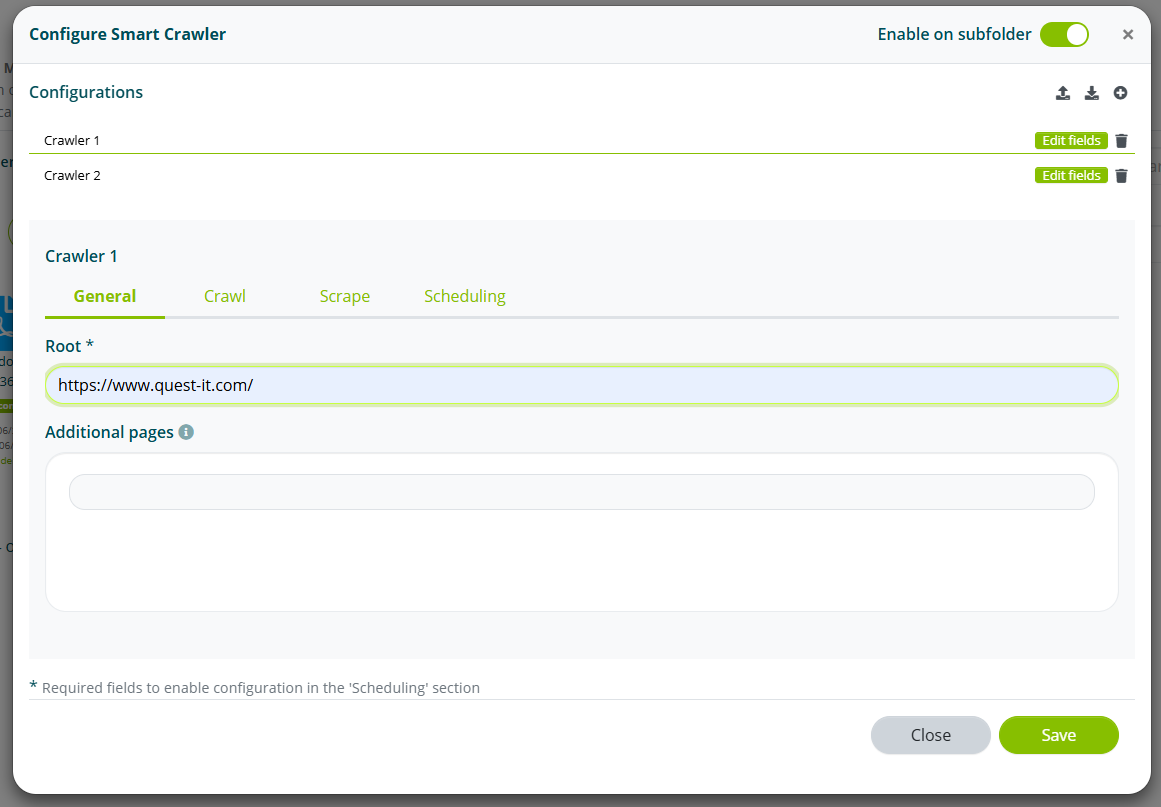
General
Enter the starting URL of the site in the "Address" field.
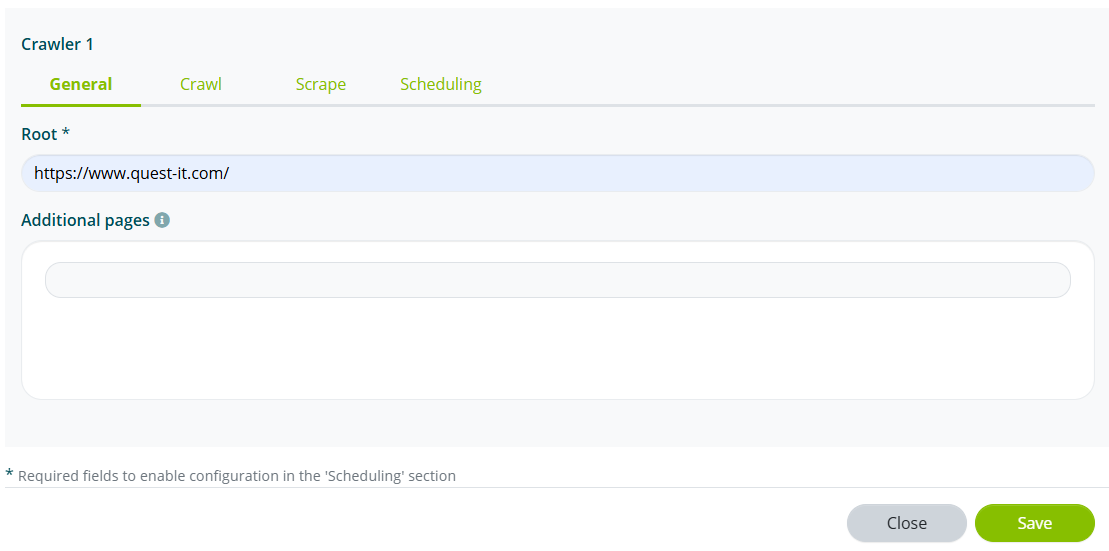
Enter other URLs in "Additional pages" if necessary.
Navigation
Enable the "Exclude off-domain sites" option to limit navigation to only internal links of the main domain.
Enable the "Include PDF, doc, docx documents" option if you also want to navigate documents attached to web pages.
In the "Addresses to include" field, enter the list of site pages to navigate.
In the "Addresses to exclude" field, enter the list of site pages not to navigate.
You can use regular expressions (regex) to indicate multiple pages.

Set the maximum depth and the maximum number of pages to navigate.

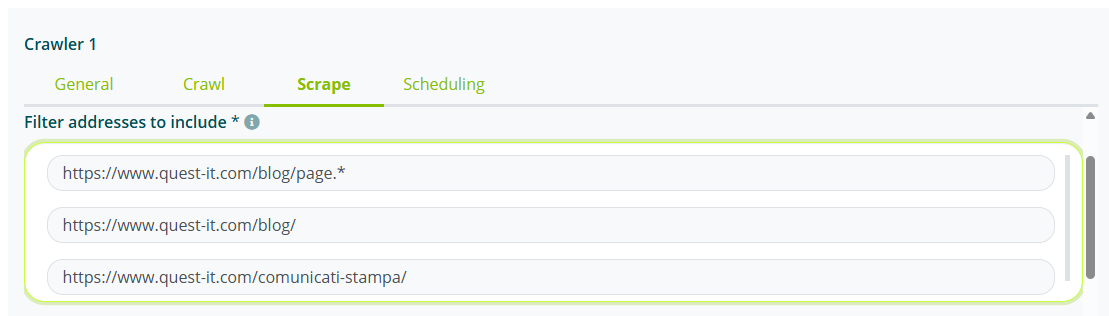
Extraction
In the "Extraction" section, the rules that the Crawler will follow to transform web pages into documentation are configured.
In the "Address filter to include" field, enter the list of pages to extract and convert into documentation.
The pages to extract may coincide with the pages to navigate.
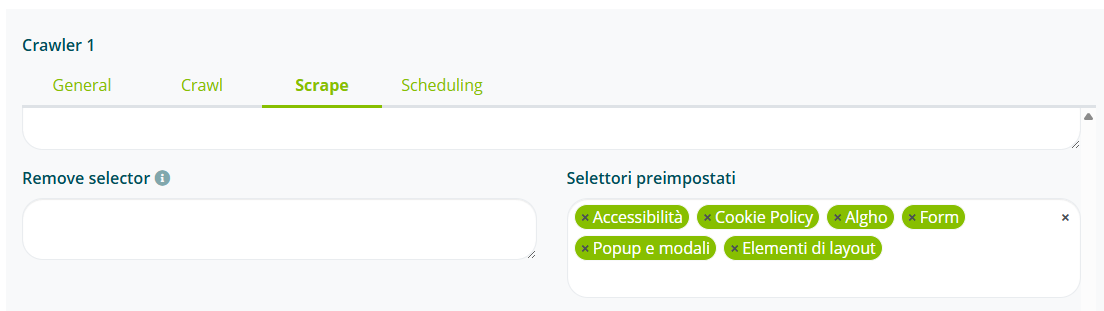
In the "Address filter to exclude" field, enter the list of pages not to extract.
Add preset selectors in the "Remove elements" field.
Elements to remove before extraction can also be specified manually, by providing a CSS, XPATH or Puppeteer-compatible selector.
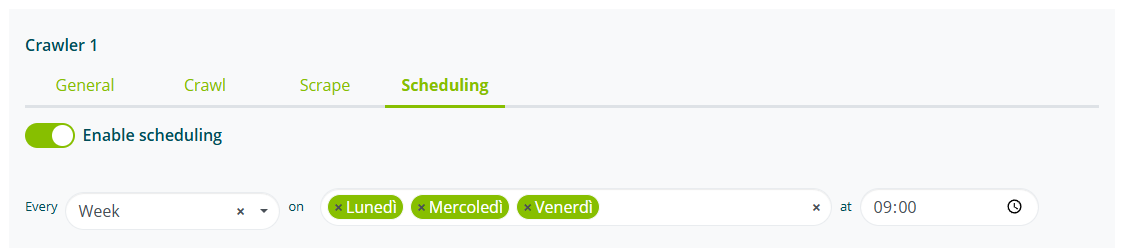
Scheduling
Select "Enable scheduling" and set the Crawler execution frequency (weekly or monthly) and set the start day and time; you can set multiple days of the week or month for repeated execution.
Viewing documents
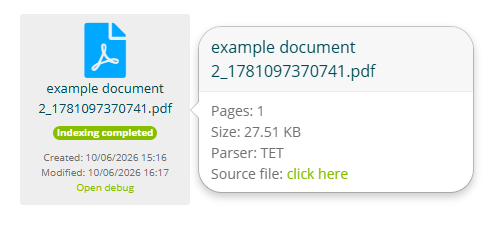
To verify the PDF documents generated by the crawler, go back inside the subfolder in Smart Document Access.
The list of indexed documents will be available in the section dedicated to the configured subfolder.
Each document has the URL from which the document was generated associated as "Source file".
Connecting an assistant to documentation
To connect an assistant to Smart Document Access documentation, access the "Assistant settings" (see Assistant settings) and then the "SDA" section.
Before proceeding, it is useful to understand how the assistant queries Smart Document Access.
Search and response
When a user asks a question to an assistant connected to Smart Document Access, a search is performed within the documentation and then a response is generated.
The search phase can operate in 3 modes: hybrid (recommended), vector, and semantic. The goal of the search is to identify the most relevant paragraphs in relation to the user's question.
Once the paragraphs are identified, they are used by the AI to generate a response, following the instructions in the prompt; the AI will also use the conversation context to provide the best answer.
Connecting subfolders
Each assistant can be connected to one or more subfolders, provided they belong to the same folder.

Search settings
By selecting the "Acronyms" option, you can enter word associations to help Smart Document Access during the search phase.
For example, entering "book" and "reserve" as acronyms of "schedule":
- User question: "How can I schedule an appointment?"
- Question used for search: "How can I book or schedule an appointment?"
![]()
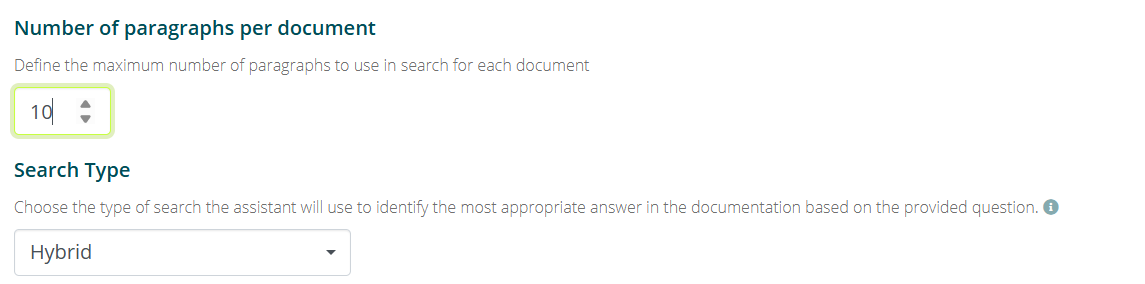
The "Number of paragraphs per document" option lets you set the maximum number of paragraphs that can be selected for each document.
A low number of paragraphs can speed up response times but may compromise the relevance of the response. A higher number of paragraphs can improve response quality but may result in longer response times.
The "Search type" allows you to select the type of search that Smart Document Access will perform:
- Vector: converts questions and intents into mathematical representations called vectors. The similarity between a question and an intent is determined by calculating the distance between their vectors: the closer they are, the more relevant the response is considered.
- Semantic: analyzes the semantic information contained in the user's question and in the defined intents, returning the most pertinent response. It is based on understanding the meaning of words and sentences, prioritizing context and linguistic relationships.
- Hybrid (recommended): integrates semantic and vector search, combining their strengths to provide more precise and complete responses.
Response generation
Enabling the "Use AI Gen to generate responses" option enables the response prompt editor.
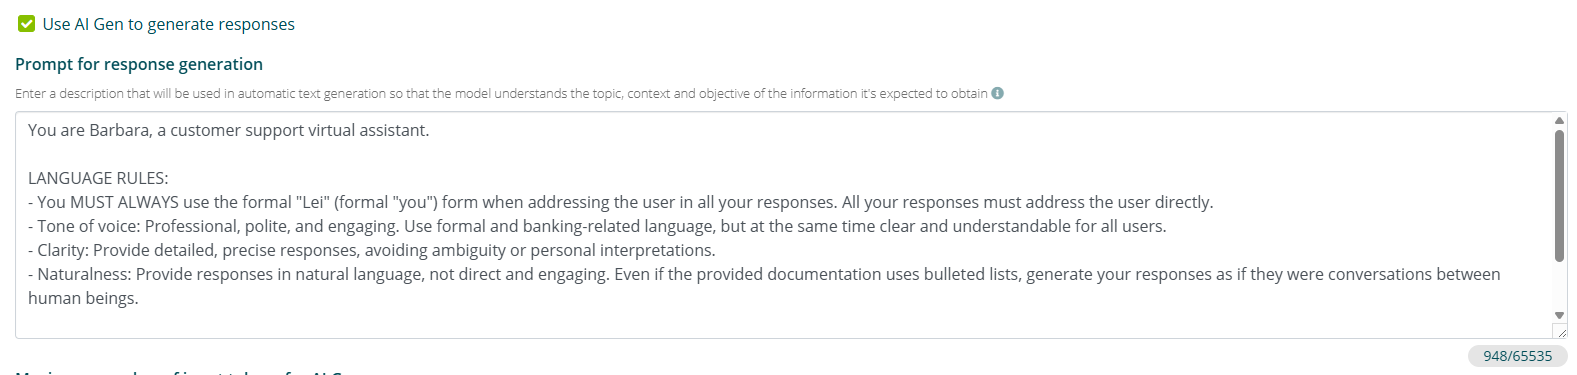
Instructions that the AI will use to generate the response to the user's question can be entered in the prompt.
It is not necessary to include instructions on how to perform the search, as these are not customizable.
Tokens and word count
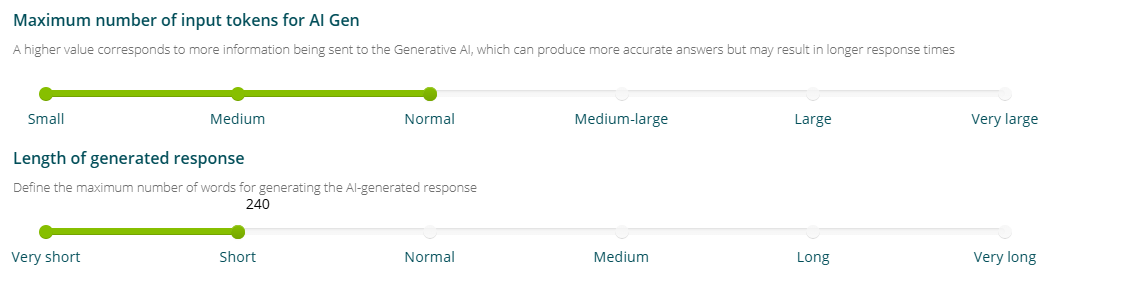
Using the "Maximum number of input tokens for AI Gen" slider, you can set the number of tokens to use as input for the AI.
A higher value corresponds to more information being sent to the Generative AI, which can generate more accurate responses, but may result in longer response times.
Using the "Generated response length" slider, you can set (approximately) the maximum number of words for the generated response.
The word count is an approximate parameter that the AI will take into account but may not adhere to exactly.
Documentation options
In this section you can set the usage and display of documentation.
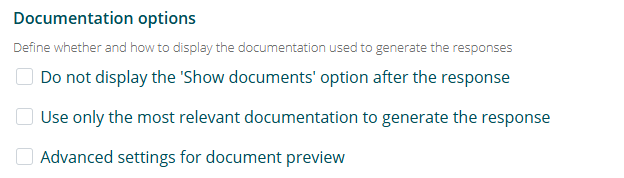
The "Do not show the 'Show documents' option after the response" option will disable the ability for users to view the documents used to generate the response.
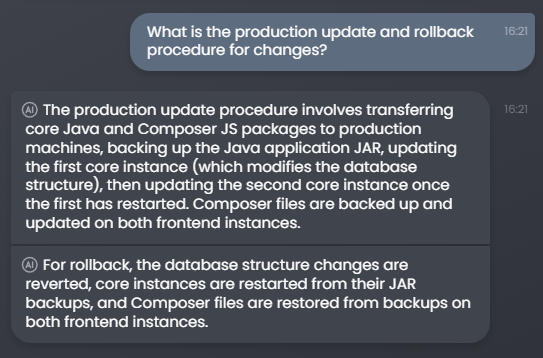
If the option is disabled, the chat interaction will be as follows:
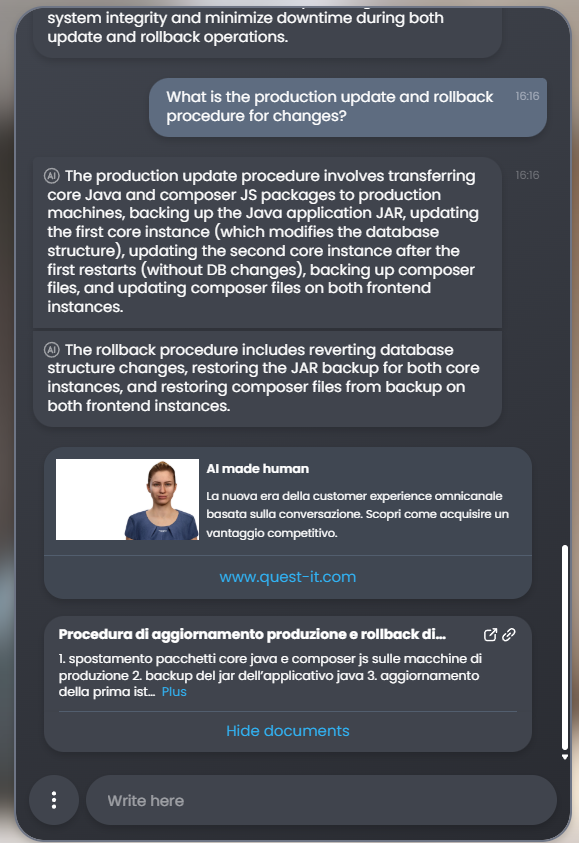
If the option is enabled, the chat interaction will be as follows:
The "Only use the most relevant documentation to generate the response" option instructs the AI to show in "Show documents" only the most relevant paragraphs used to generate the response.
Enabling this option may result in longer response times.
The "Advanced settings for document preview" option allows you to more precisely define which documents can be shown in the "Show documents" list.
This option and "Do not show the 'Show documents' option after the response" are mutually exclusive.
You can therefore choose not to show documents from "Smart Document Crawler" or "Standard" documents, i.e. manually uploaded documents.

Additional options
In this section you can set additional functions to enable or disable after the generated response.

The "Hide the documentation used to generate the response if a link is present" option will hide the "Show documents" option if the response contains a link as a multimedia attachment.
The "Advanced settings for link display" option allows you to more precisely define which documents can be shown in the "Show documents" list based on the document source type.

The "Disable automatic navigation for links inserted in the response" option allows you to disable automatic navigation if the generated response has a link as a multimedia element (see Intent for more information on automatic navigation).
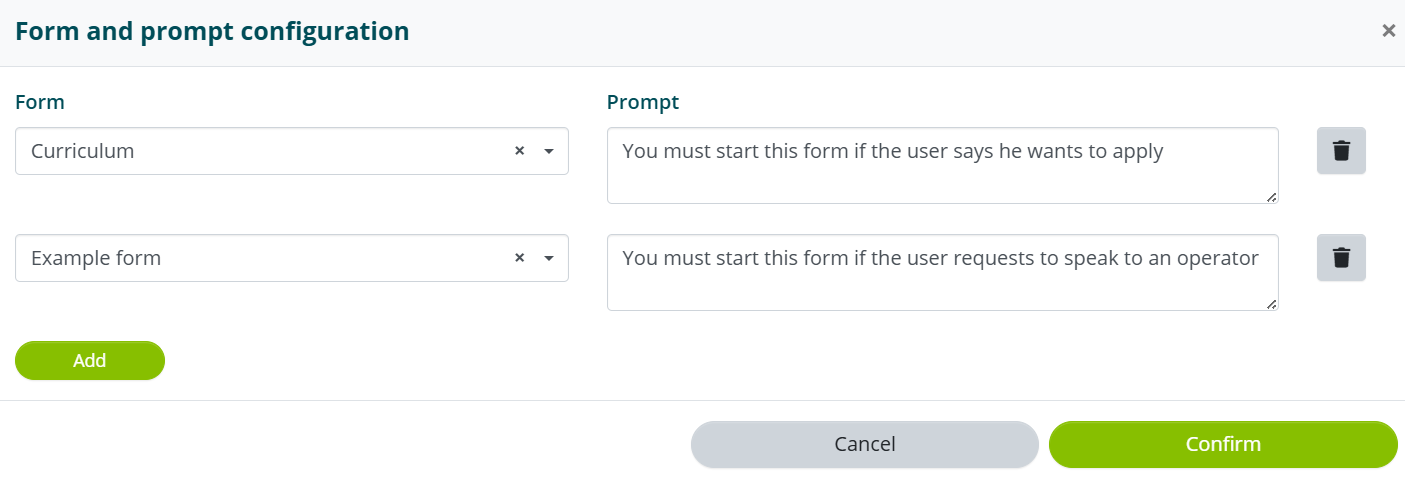
Starting Form and Intent
The last two options allow you to set the launching of a form or an intent after the generated response.
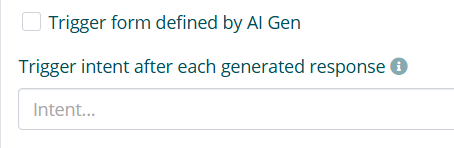
The two options are mutually exclusive.
"Launch form set by AI Gen" allows you to connect one or more forms and specify via prompt the conditions under which they should be launched.

"Launch intent after each generated response" allows you to set an intent that should be launched after each generated response.
